 |
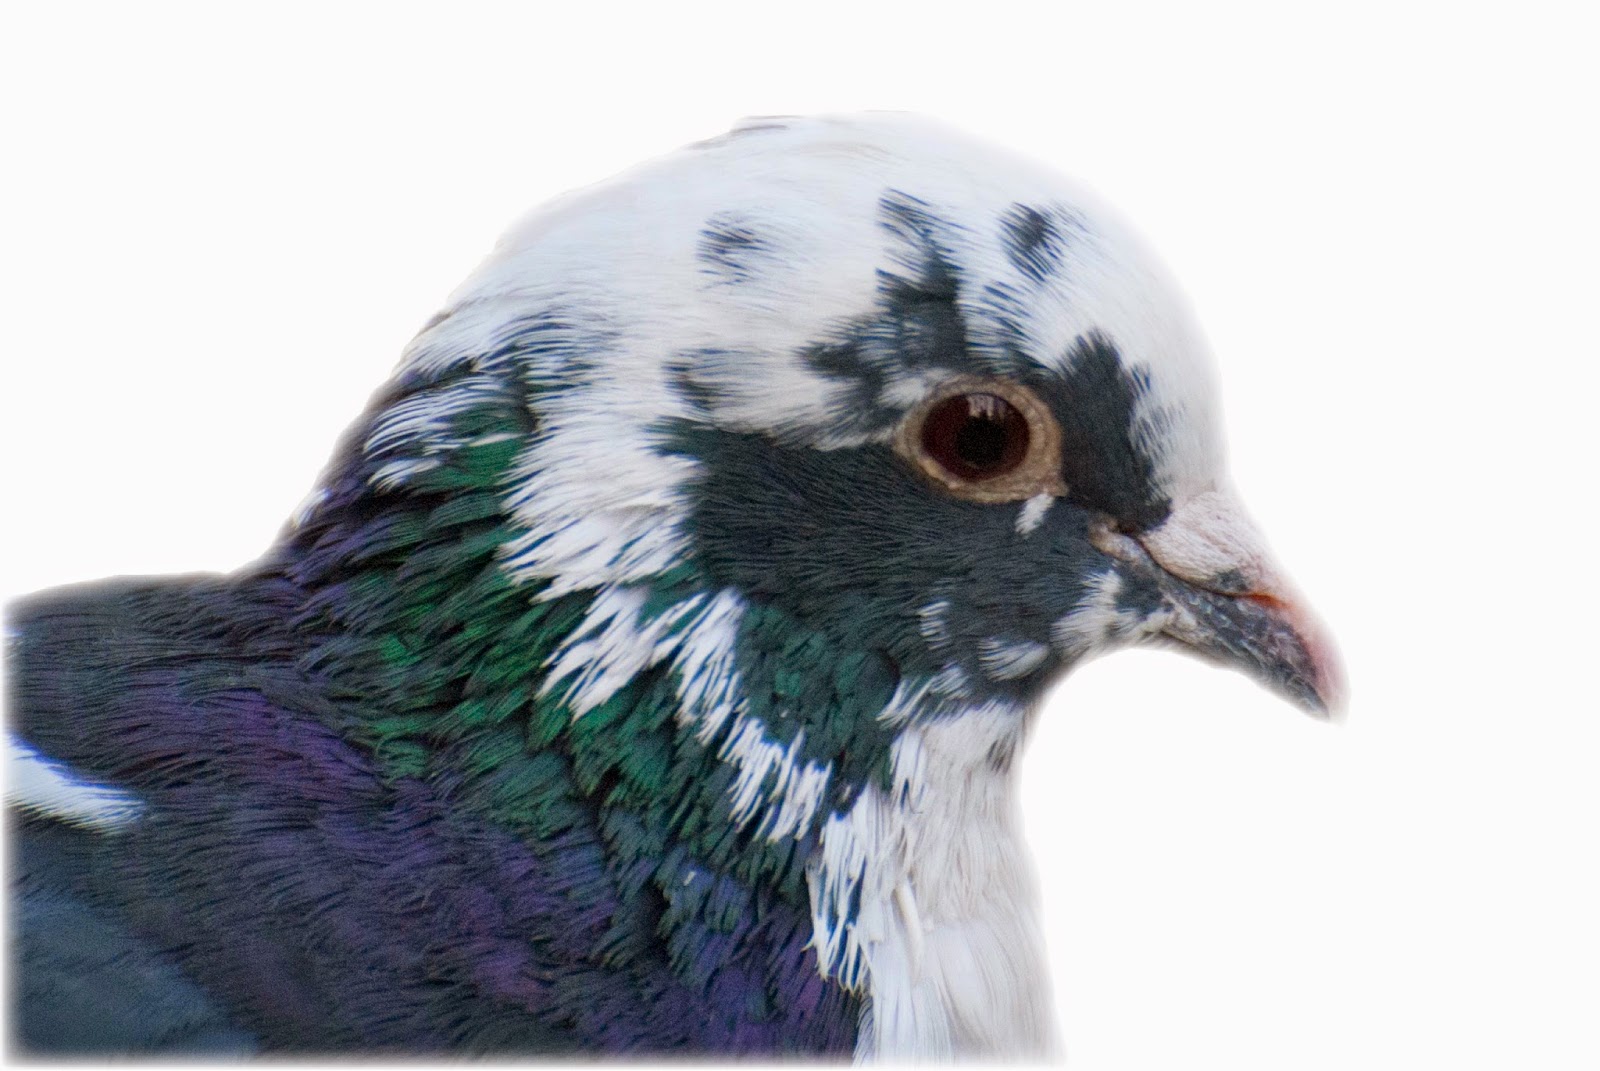
| This week's story is less about urban wildlife than it is about my new Wacom graphics pad, although it does include a pigeon. I already knew how to isolate parts of photos using Adobe Illustrator, but a graphics pad makes it much easier. So I wasted an hour isolating a pigeon and dropping him into photos around New York. There is a brief description of the method at the end. It's a useful technique to make nice graphics for presentations. I am starting with this photograph of a pied pigeon. Click to enlarge. |
 |
| The pigeon has been extracted from the background. |
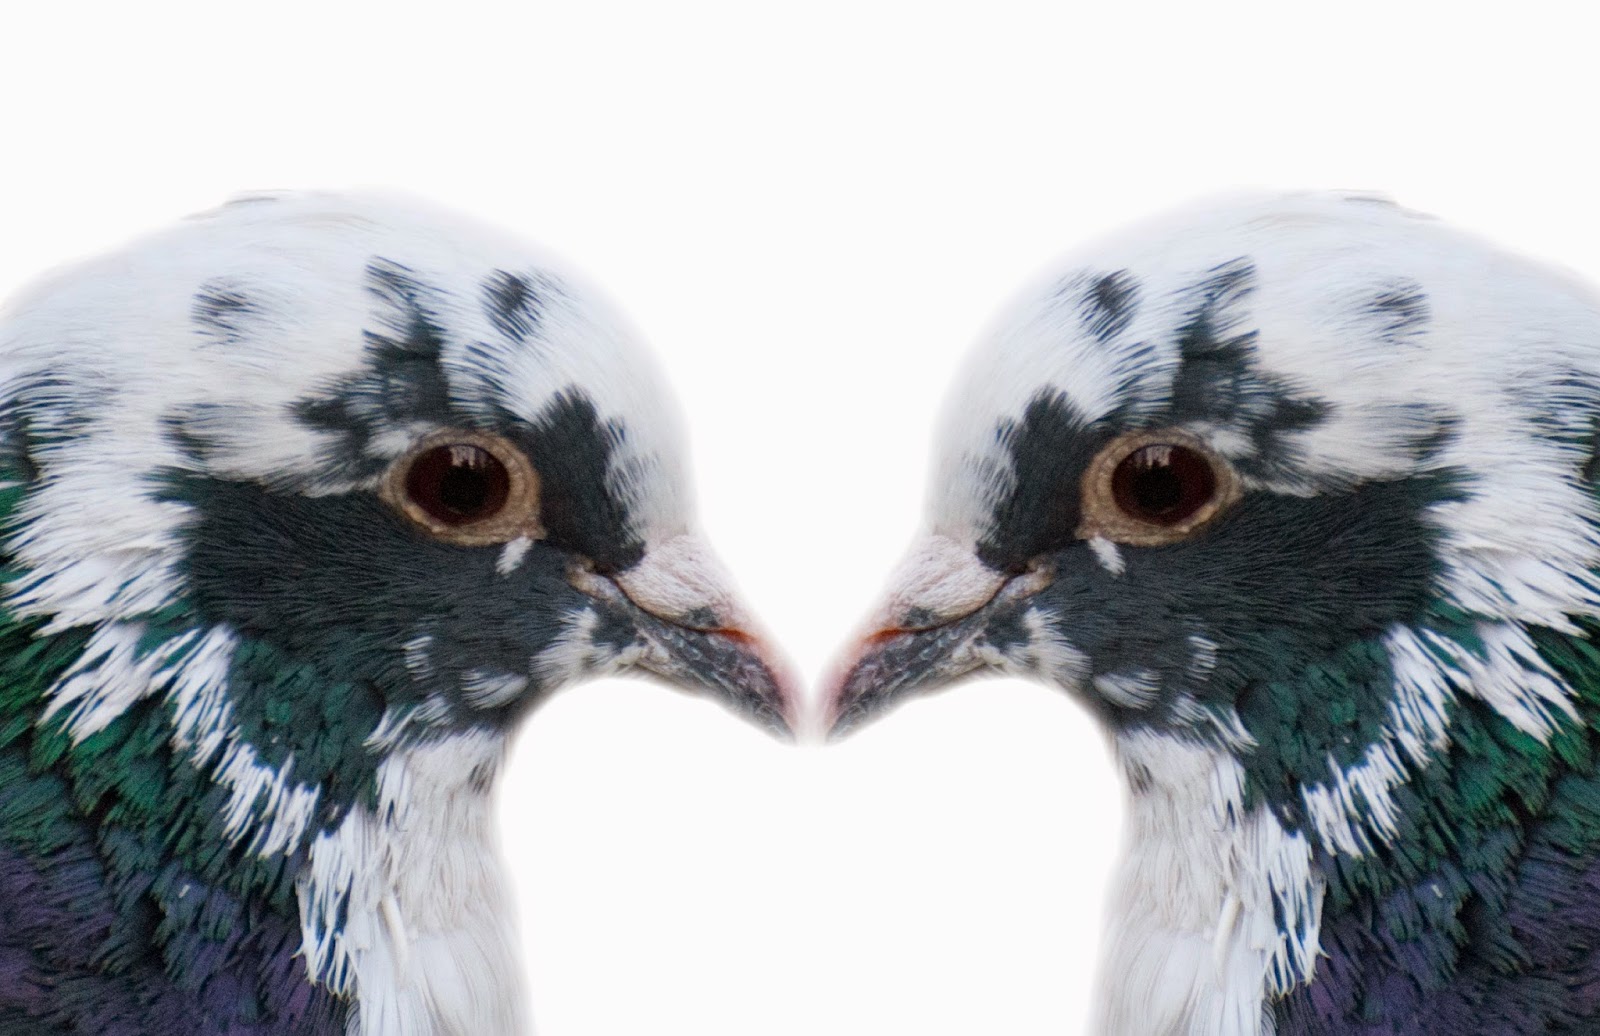 |
| Once isolated, it is easy to duplicate and reflect the image. |
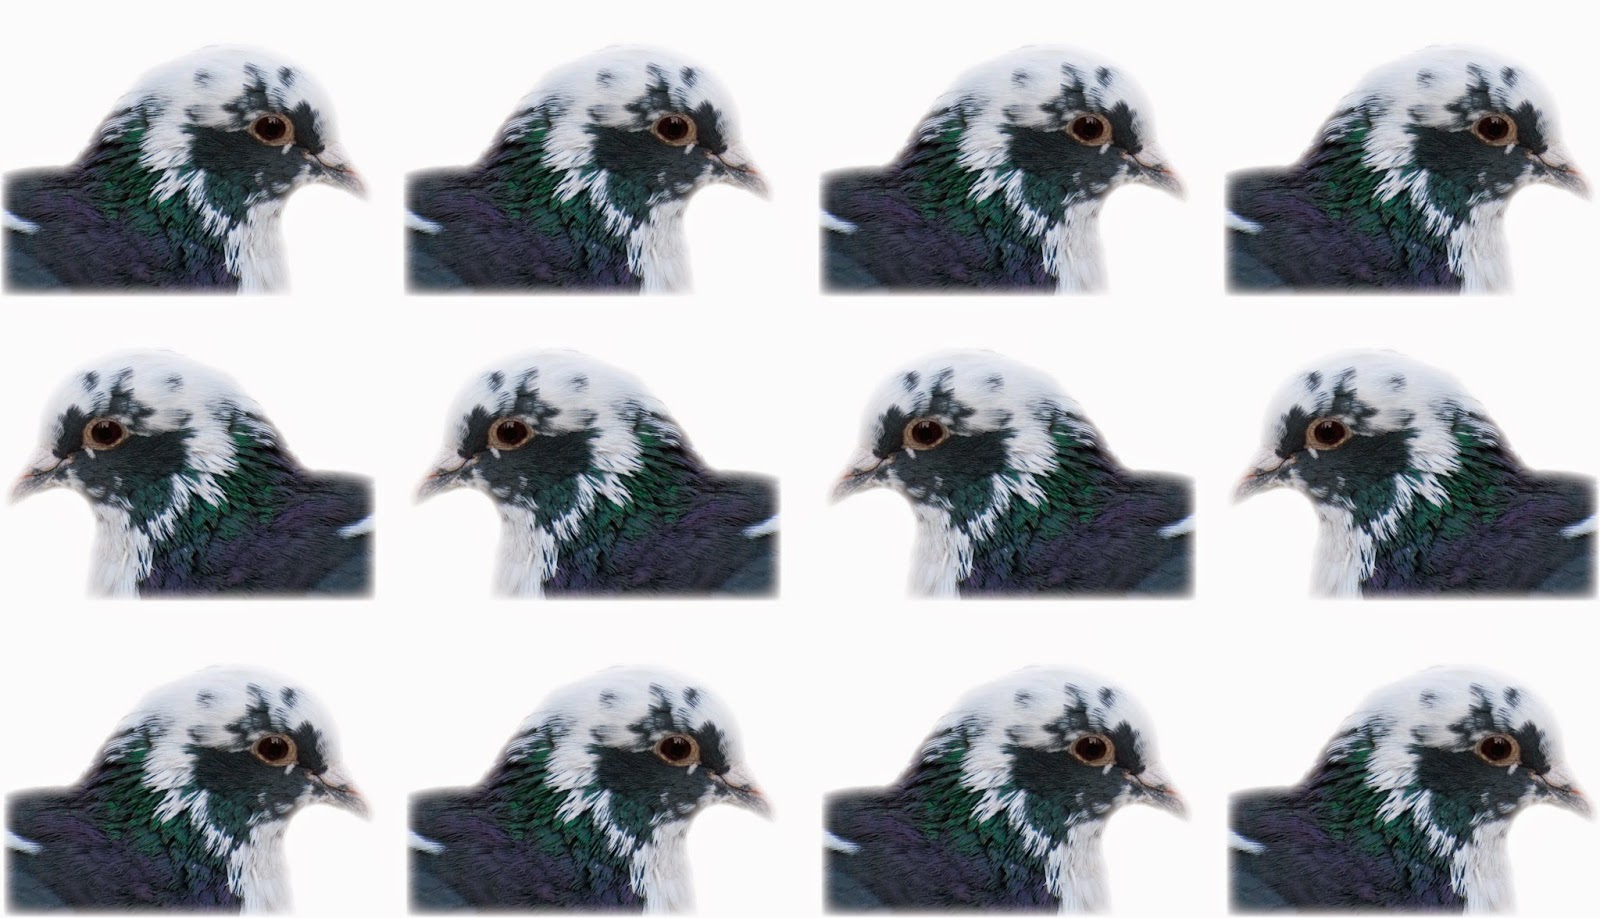 |
| Or to duplicate and reflect lots of them. |
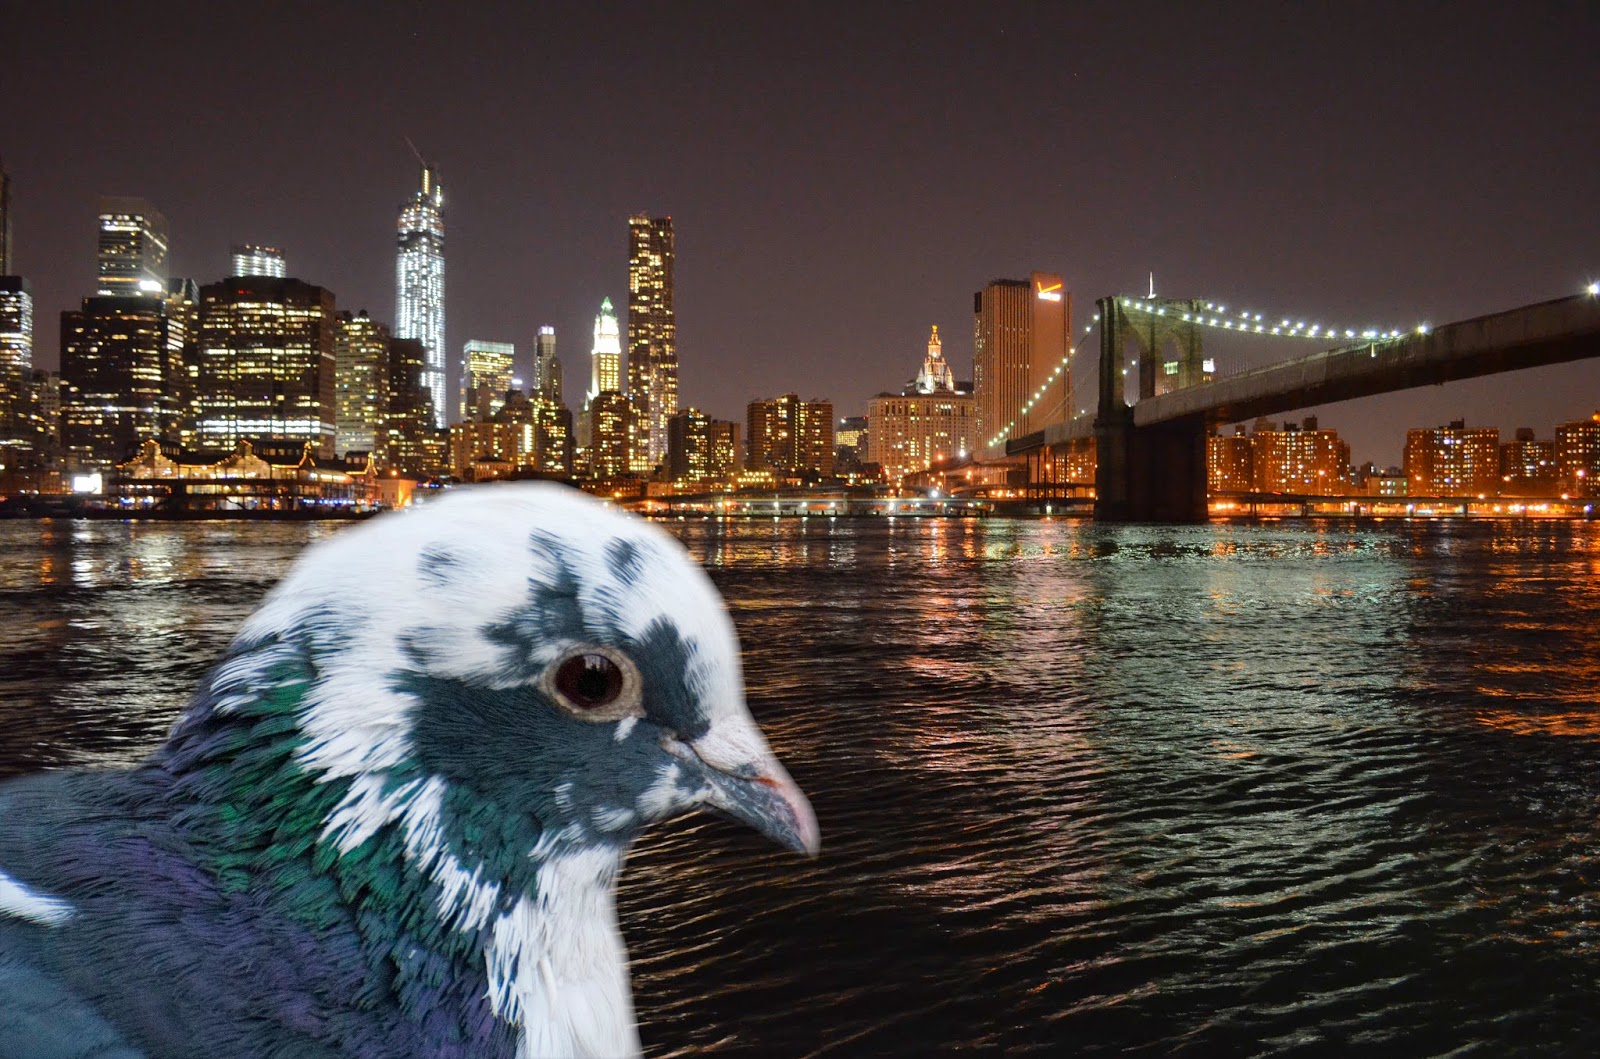 |
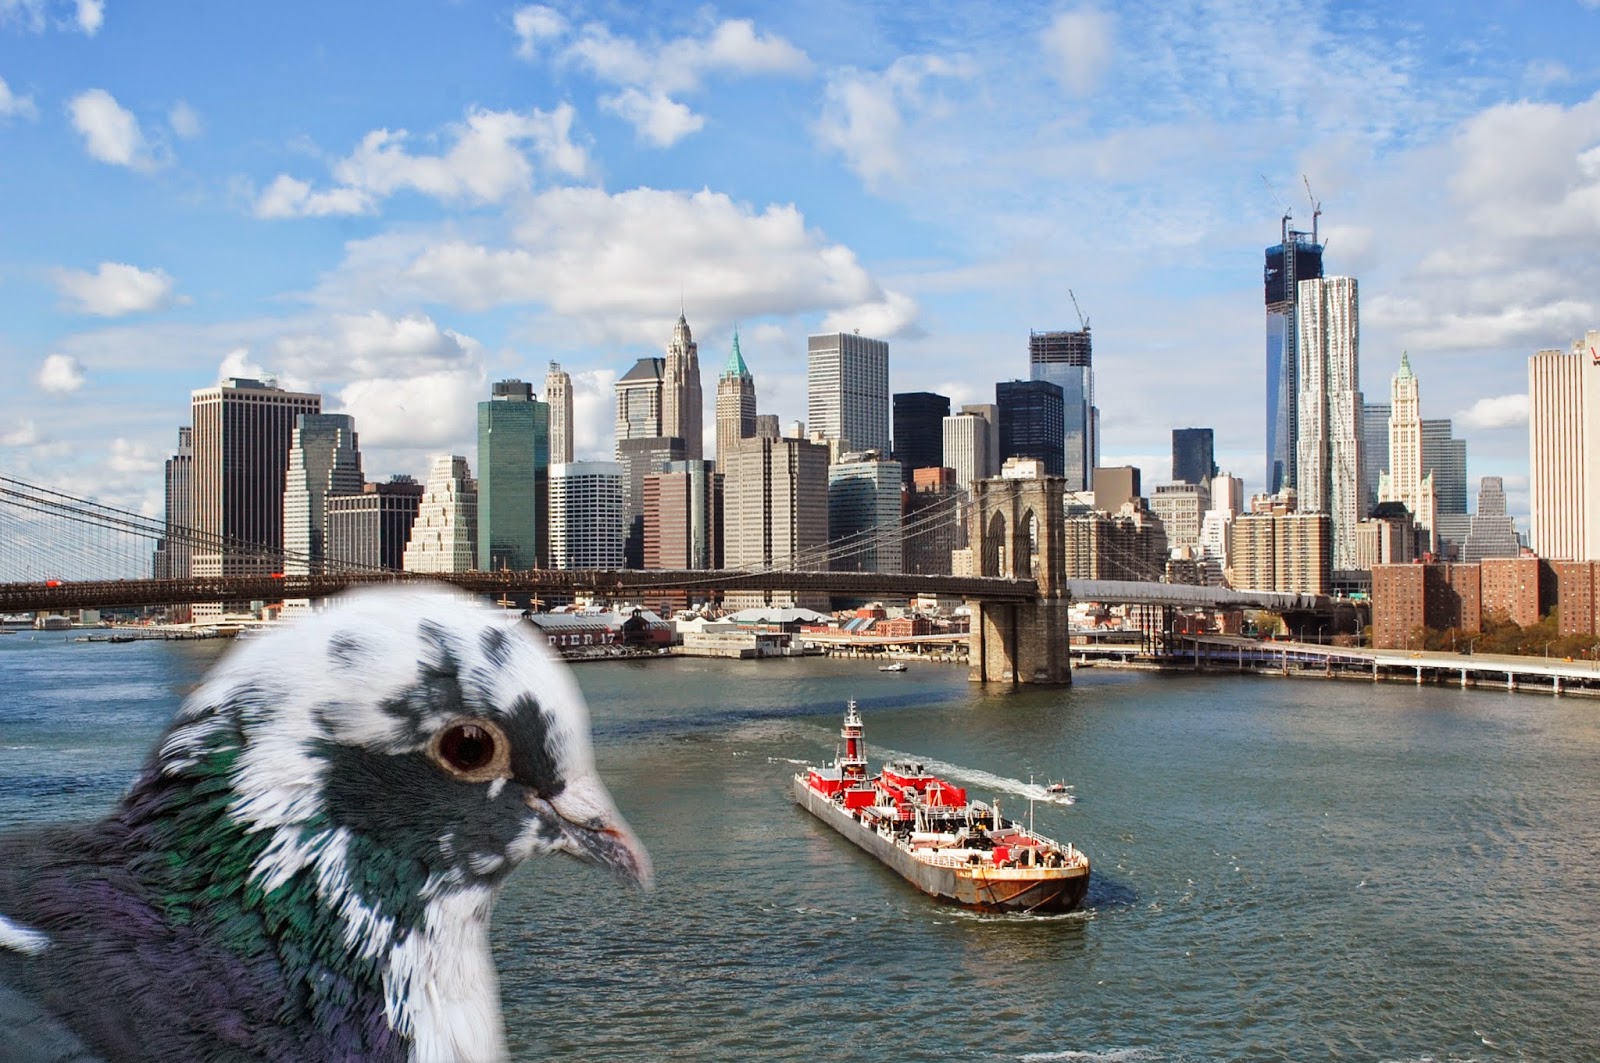
| Or to drop him into the action at the Brooklyn Bridge. |
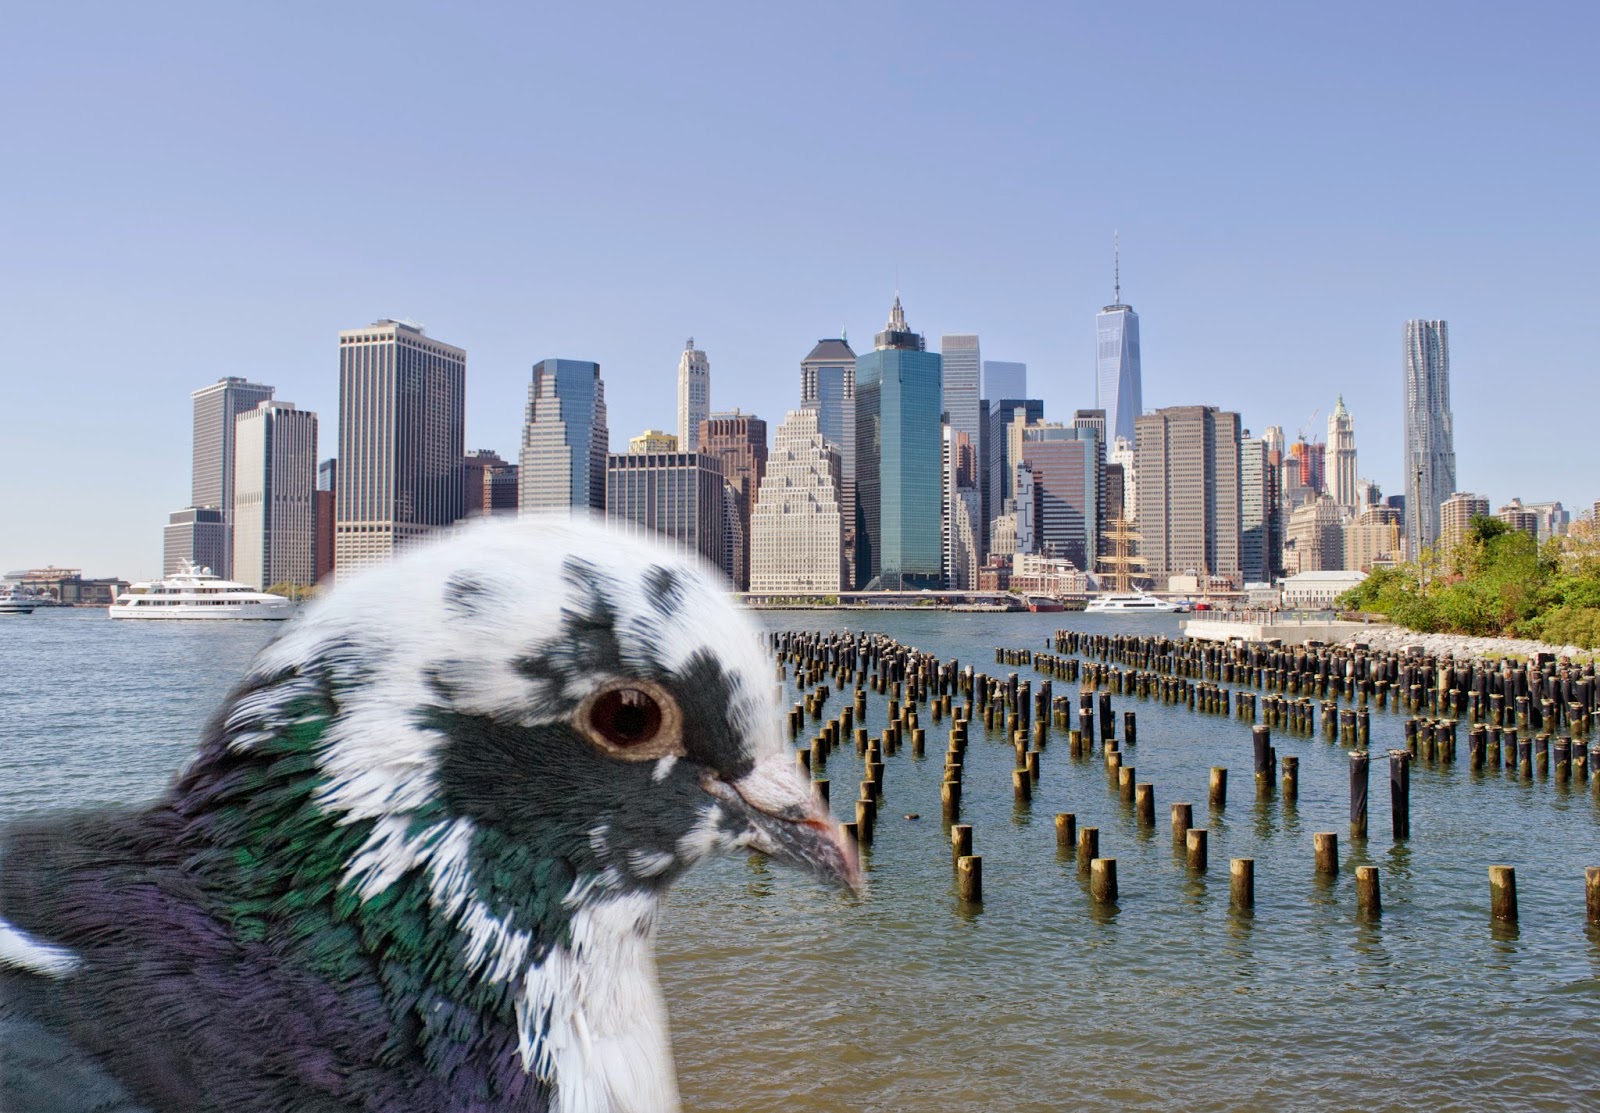 |
| Or on the shore of the East River. |
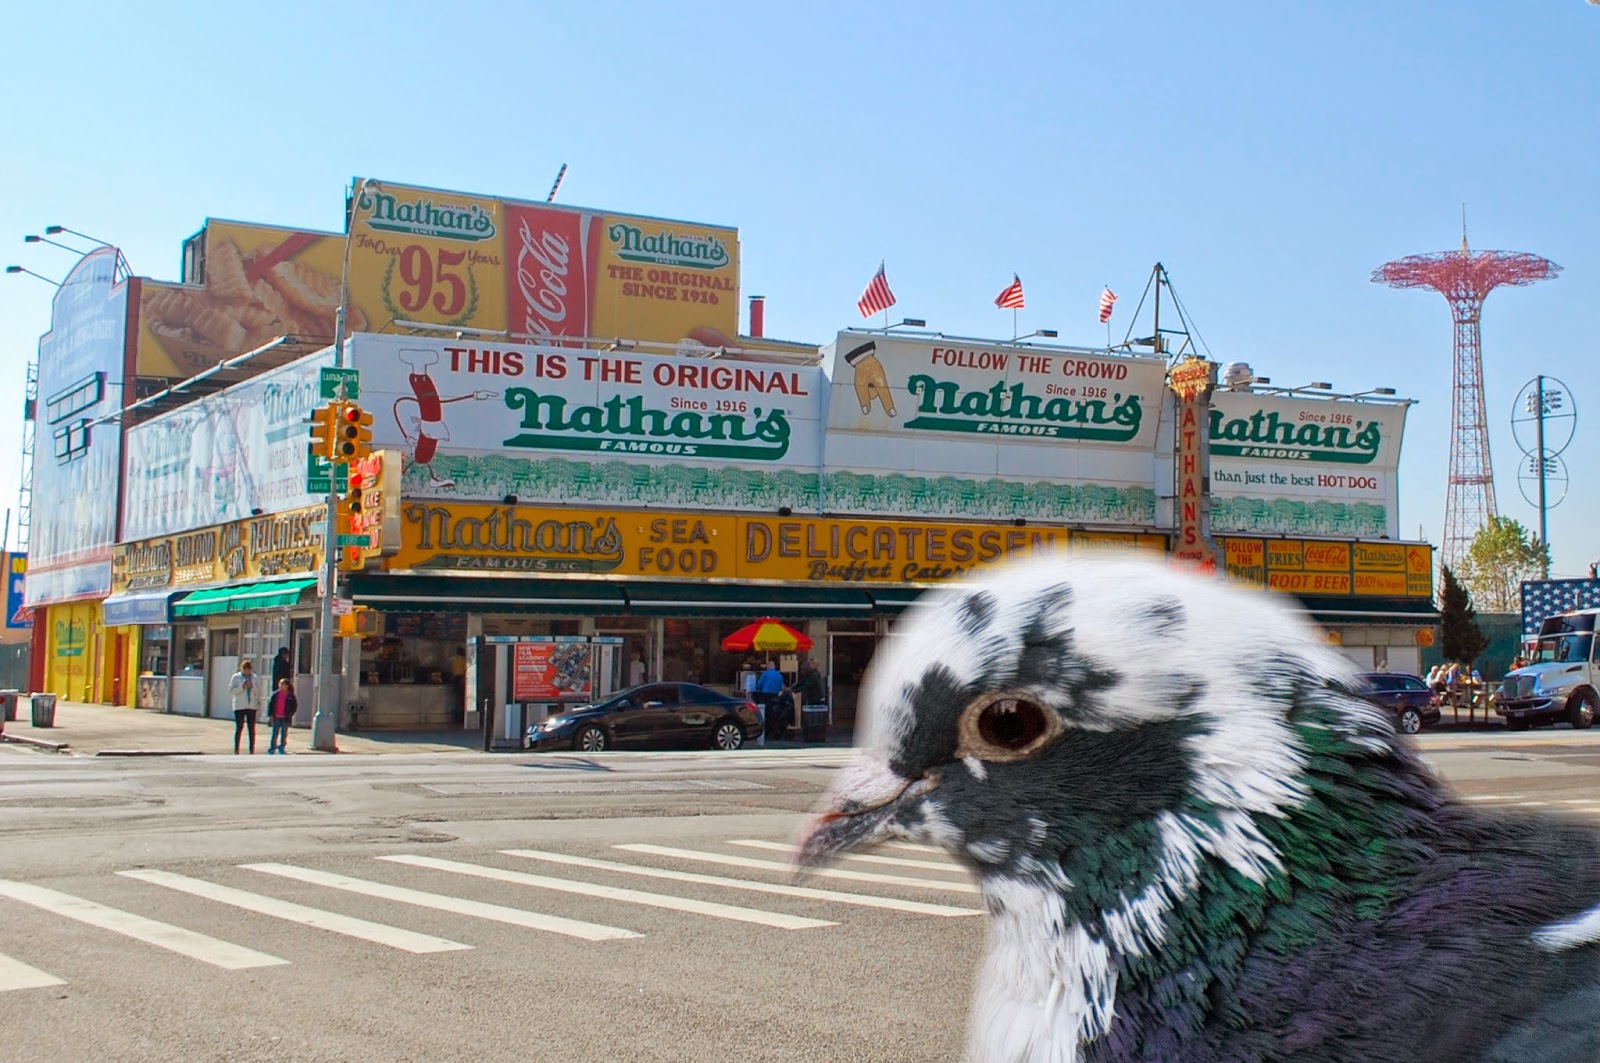 |
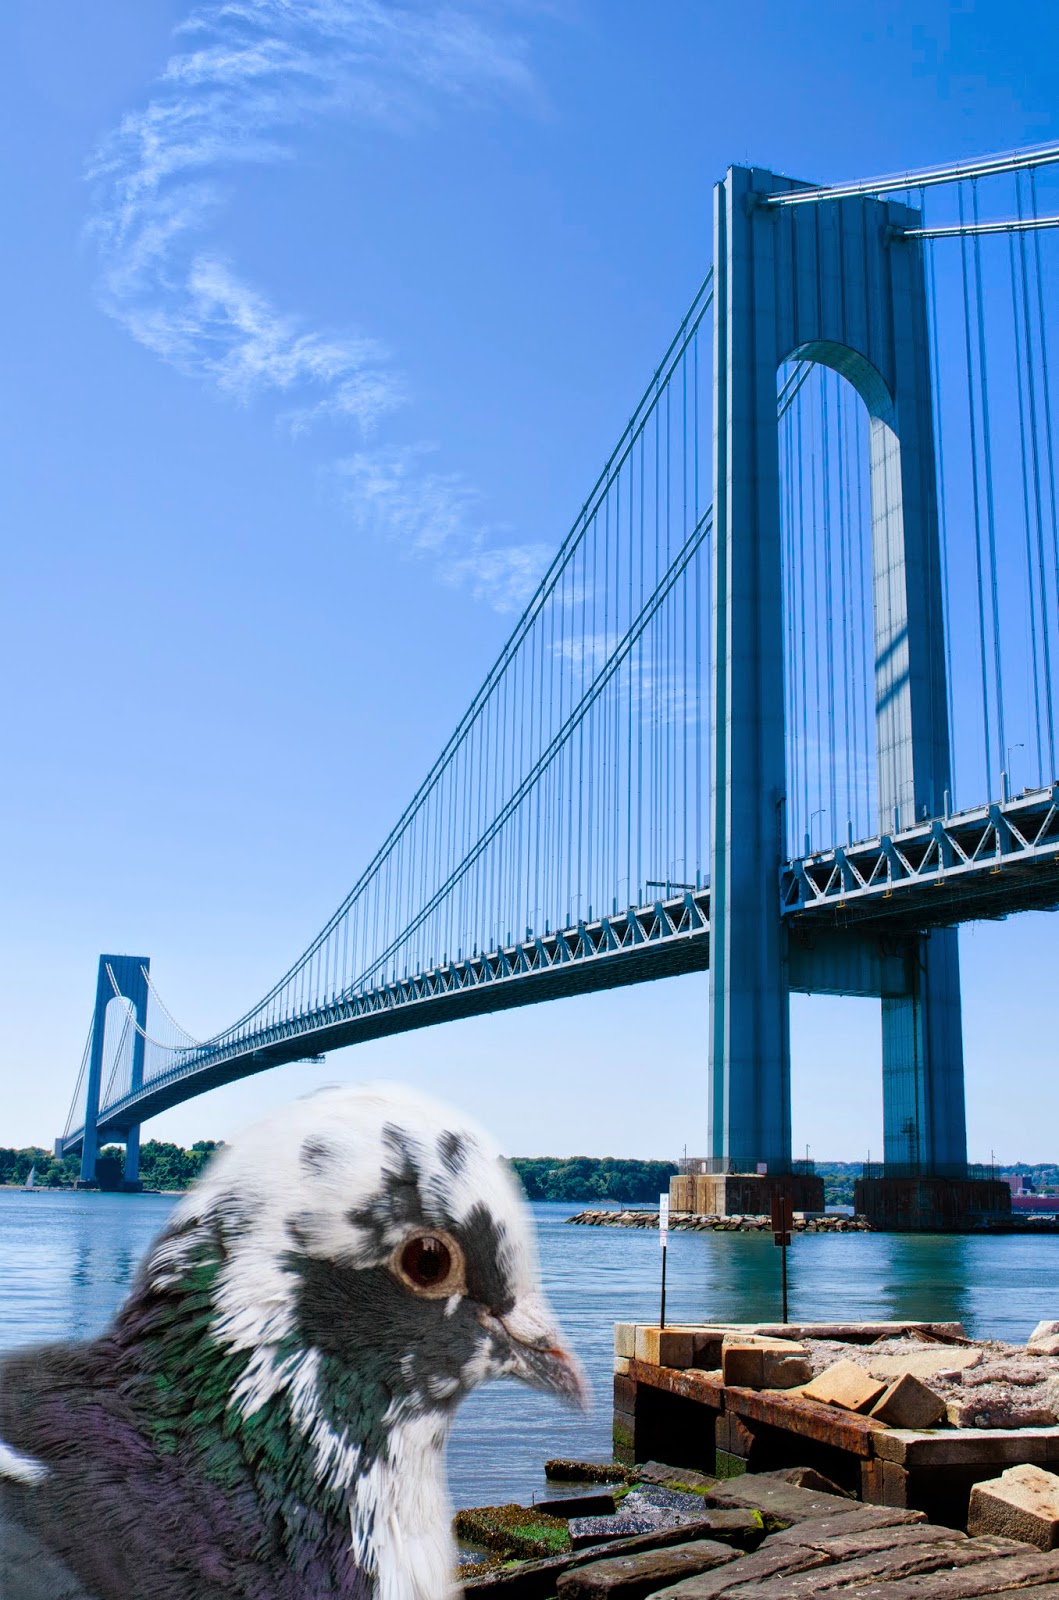
| Or Coney Island. |
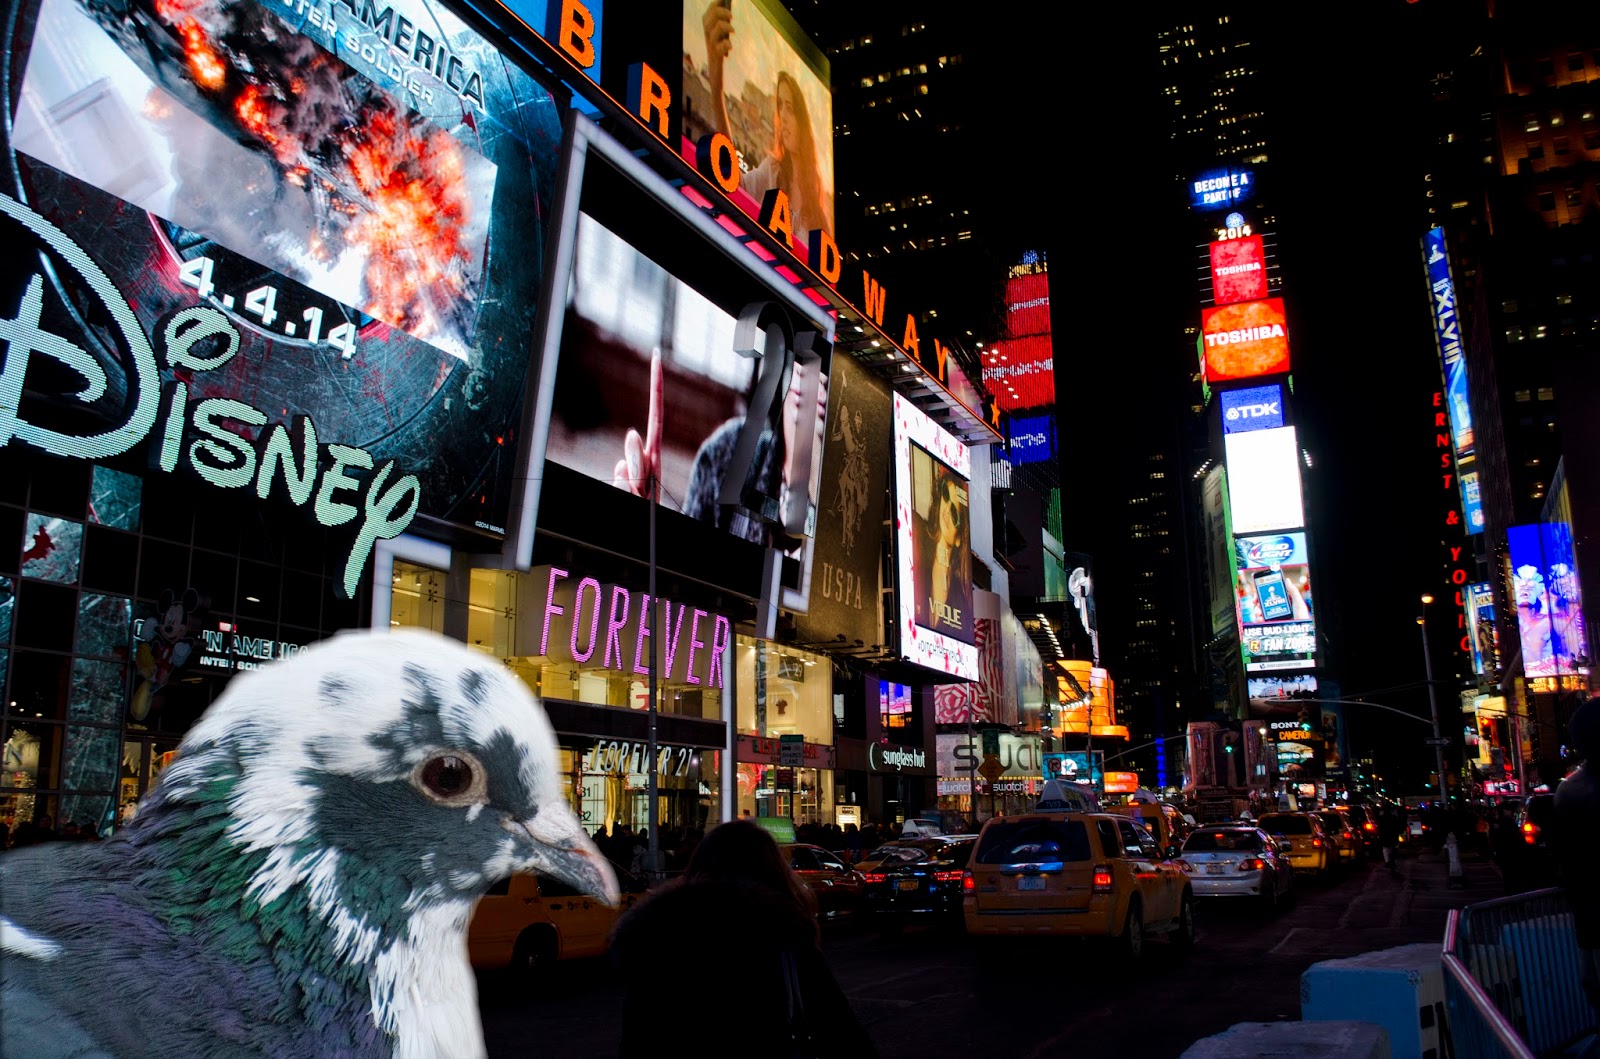 |
| Or Times Square. |
 |
| Or taking in the view from the Manhattan Bridge. |
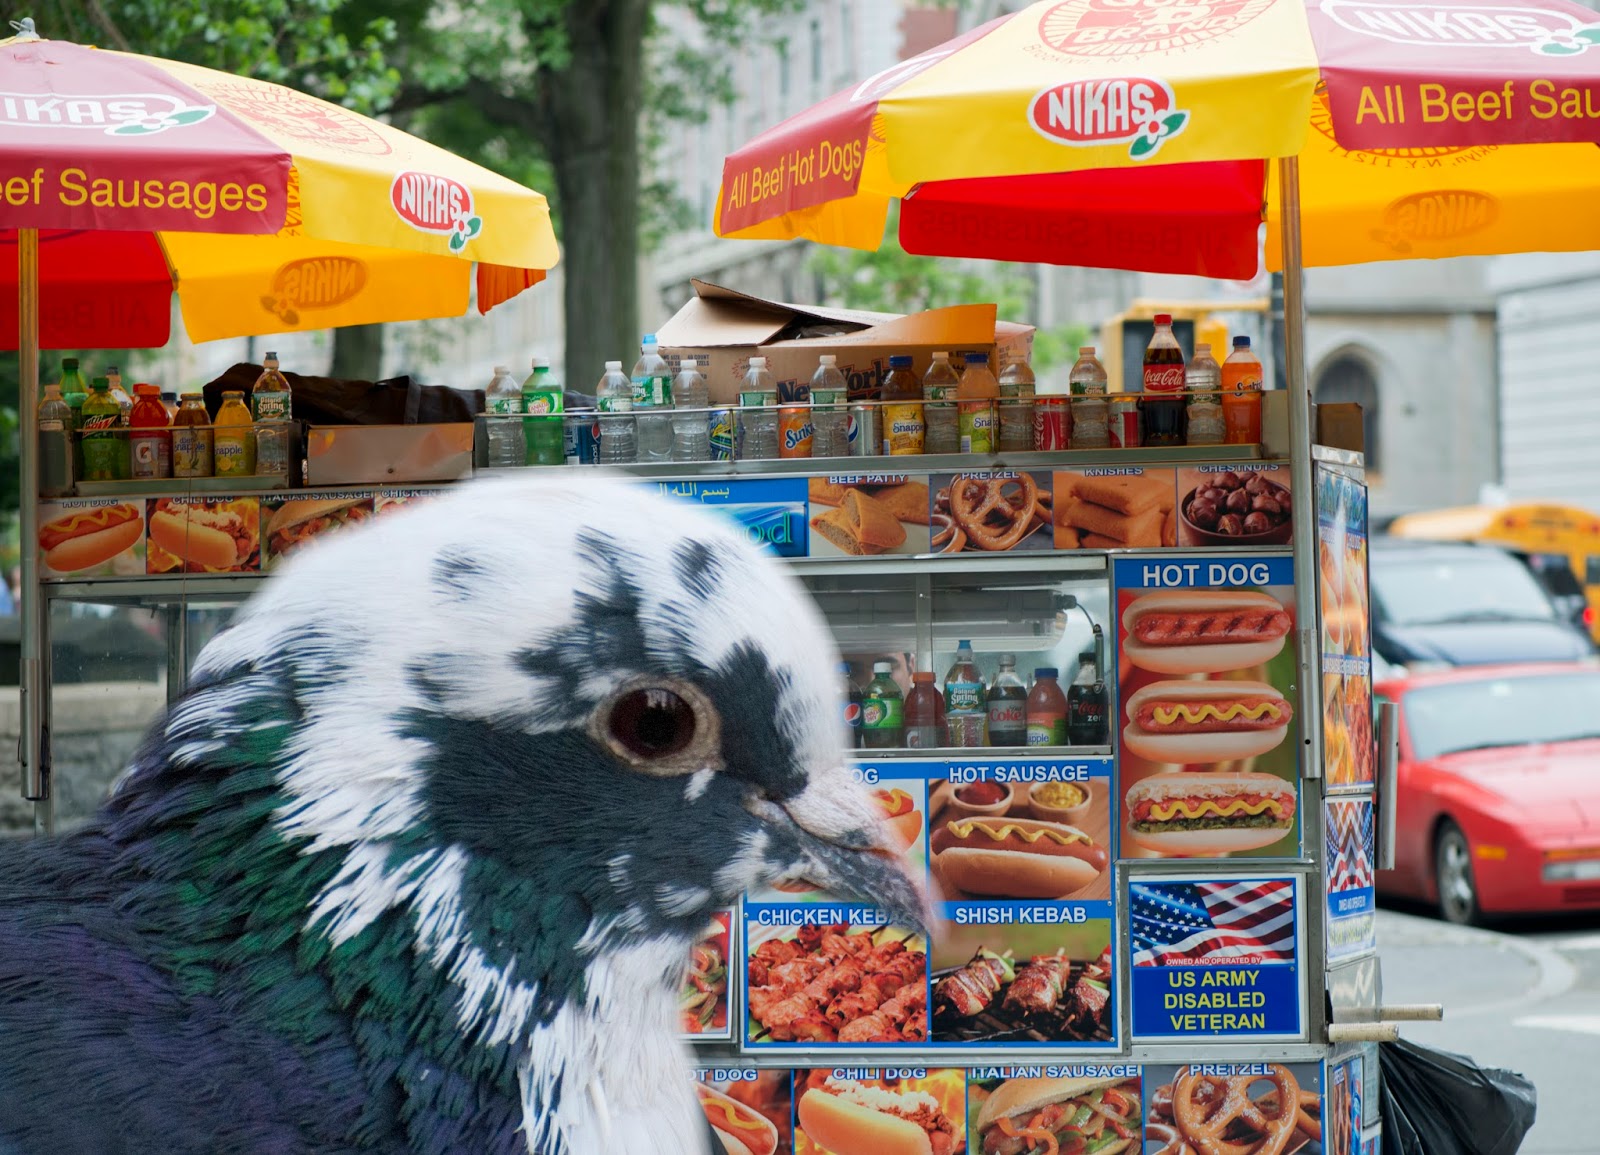 |
| Picking up a snack. |
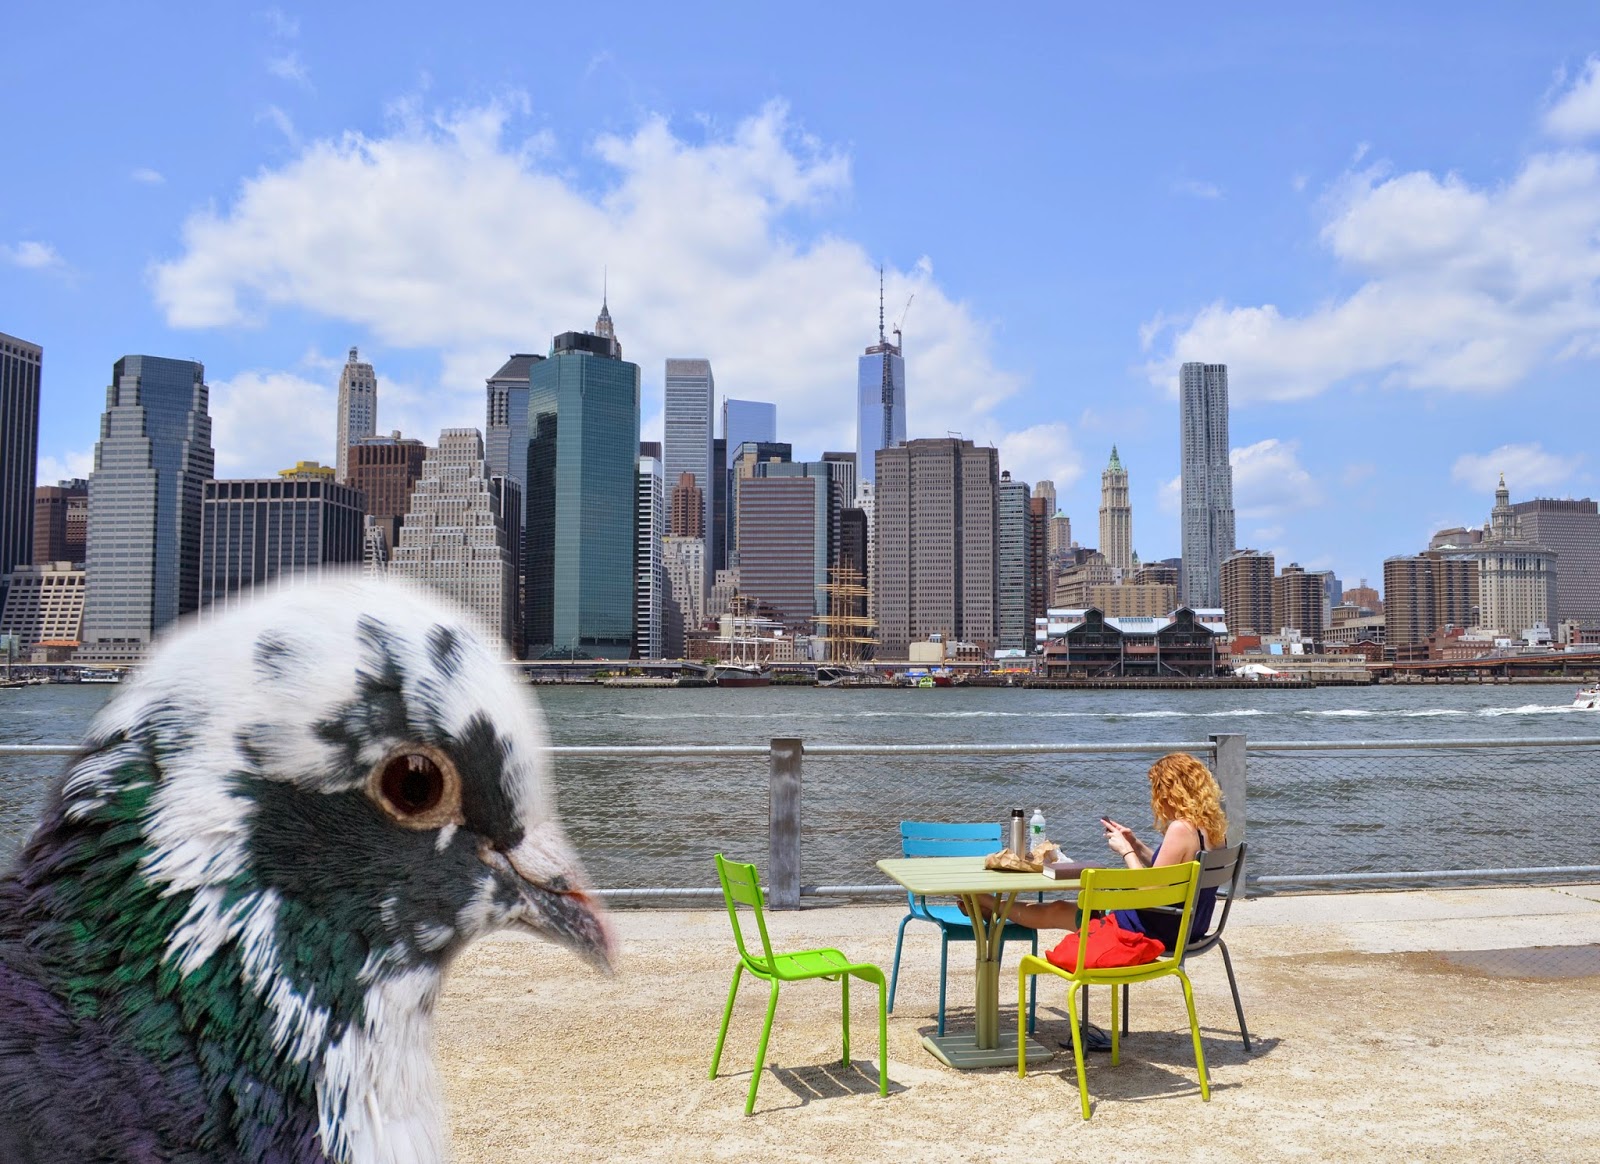 |
| Hanging out at Brooklyn Bridge Park. |
 |
| Stayin' alive. |
You get the idea. Here's how to do it on a Mac. Open the photo that contains something you would like to isolate, like a pigeon, in Adobe Photoshop. (I have version CS5.1.) Use the pen tool to outline the thing you want to isolate. (This is MUCH easier if you have a graphics pad plugged into the computer because you can outline with an actual pen in your hand instead of a mouse.) The outline will be a series of dots connected with lines. Use more dots where the shape of the edge is more complex. Work your way all around the edge and join the last dot to the first. Then open the "Paths" window in Photoshop and choose "load path as a selection." From the "Layer" menu, select 'New" and then "layer via cut." Look at the layers panel and you will see two layers -- your newly cut out image and the background it came from. Discard the background by dragging it to the layers panel trash can. What's left is the isolated image. Save. Then open it in Adobe Illustrator (I have CS5.1) and select "feather" from the "Stylize" menu to soften the edges of the cutout. After that, do whatever looks good -- change the size and orientation or paste it into other photos. When you have finished a creation, use the art board tool to crop as desired. I usually save as an .ai file, then open with Preview, export, and save as a .jpg.
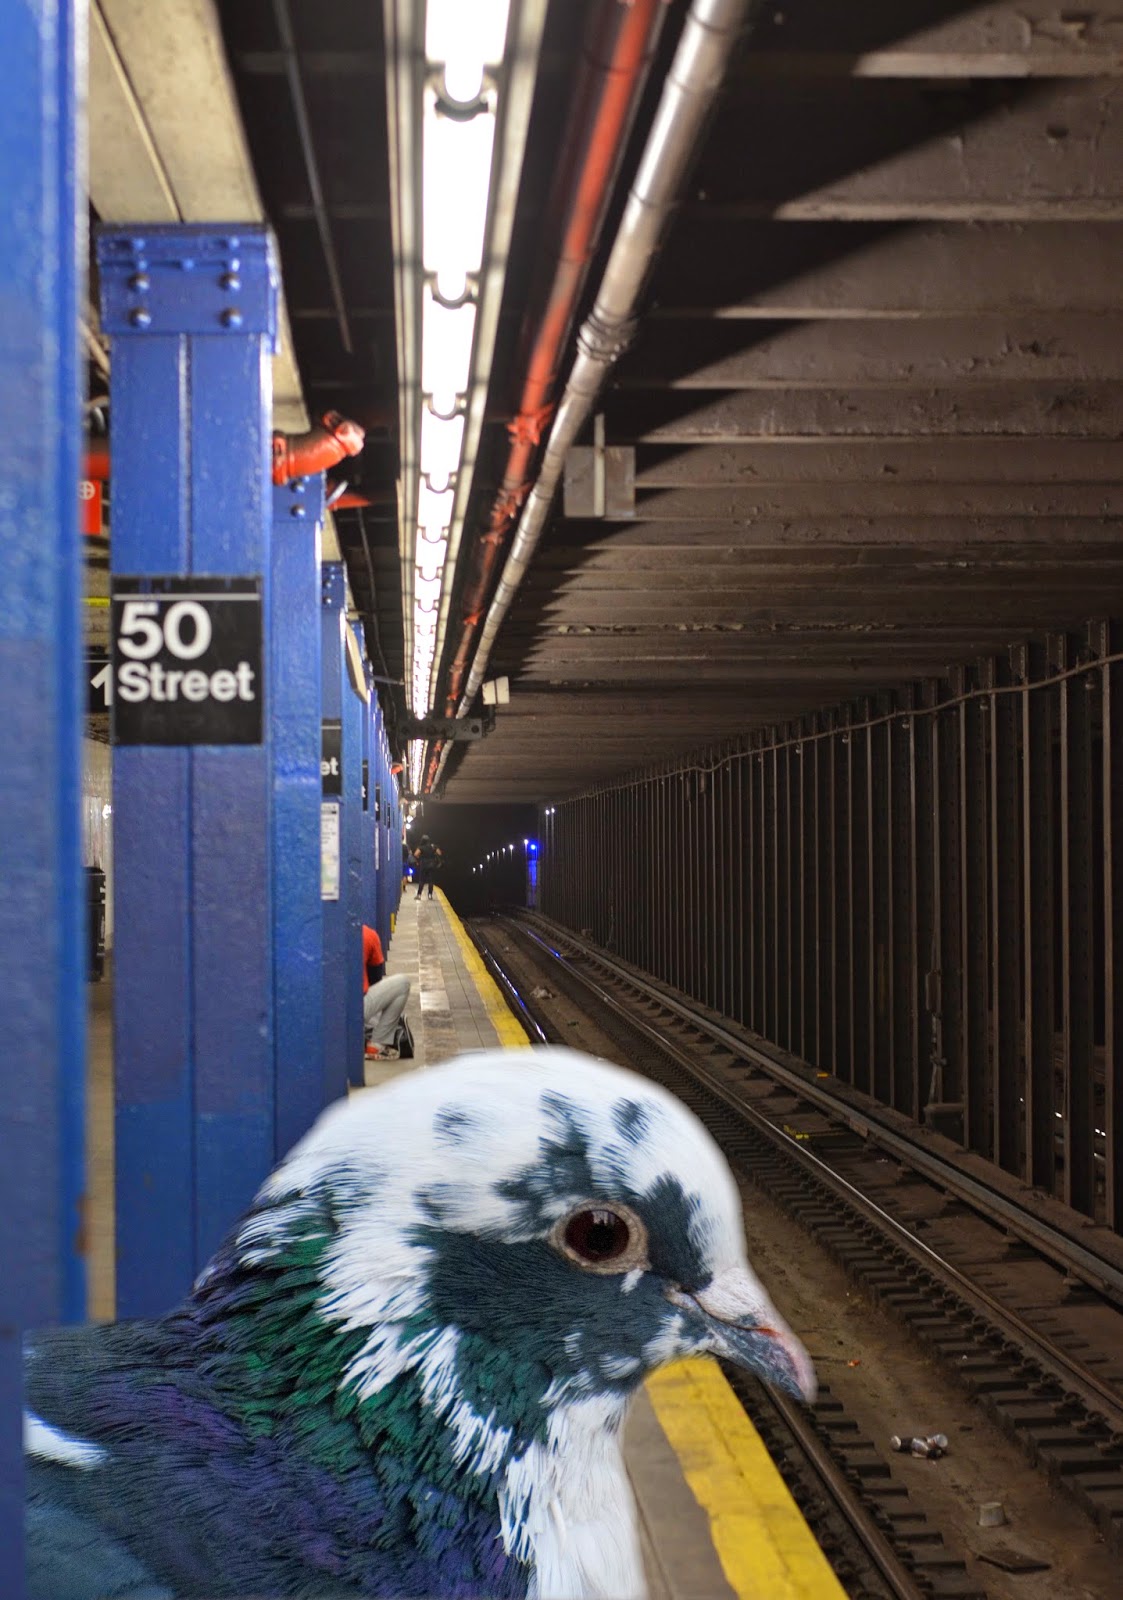 |
| Waiting for the C train. |
No comments:
Post a Comment